I’ve always wanted to pass on knowledge.
When I was a kid, I wanted to become a teacher. Things turned out differently, as I studied engineering. I ended up “consulting” in the building industry, which was mainly a “teaching” job. After I switched to photography – something I’m so grateful for – I still had the urge to share my knowledge about photography with other people.
That’s how I started to do workshops in photography, with a special emphasis on flash photography (together with my partner in crime Piet Van den Eynde, who’s the benchmark when it comes down to teaching about Lightroom).
And that’s exactly why the “Nationale Vereniging van Beroepsfotografen” (National federation of professional photographers) contacted me to conduct a workshop for their members.
So I organised an afternoon of going through my recent portfolio, thereby explaining how I photographed the images and how the lighting was done. An interesting exercice, both for me (because I sometimes had to reverse engineer my own images) as well as for the participants, providing enough questions to fill a book on flash photography.
After that we went outside for a demonstration of flash photography in the field (that’s what one does during workshops on flash photography, not?). We went to a nearby underpass (I have loads of them in the neighbourhood) were the light was rather dim, but where we had a bit of grafity.
We picked Carl as our ad-hoc model. Carl is a fantastic photographer with loads of experience and a master in lighting. I just count my blessings Carl lives about 2 hours drive out of where I live (and the fact that Carl mainly works in a studio environment also helps).
So, both myself and Carl were challenged. Myself, because I had a master in photography in front of my camera and Carl, because he’s much more comfortable BEHIND the lens in stead of in front of it!
Nevertheless, I tried to explain to the participants the different stages in the lighting setup that one can go through. So we started with a simple setup, which is an Nikon SB900 flash to camera left, on a stand and shot through a shoot-through umbrella providing the key on Carl’s face. On camera right, behind Carl, is a bare flash (also Nikon SB900) with a full-cut CTO as a kicker light, enhancing the separation between Carl and the background.
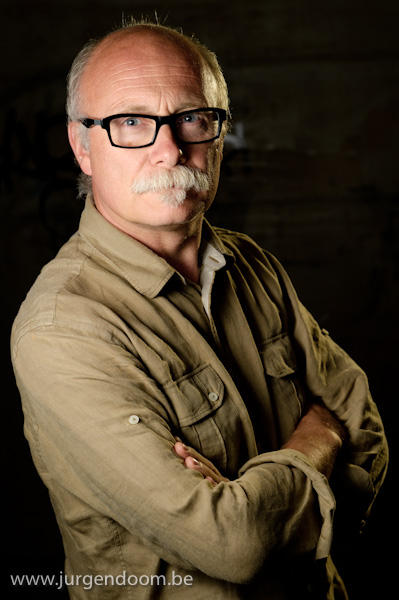
Carl, during a workshop on flash photography, lit by 2 SB900 speedlights
By adding a third SB900 with a red filter, aimed at the background, we created a more dramatic portrait.
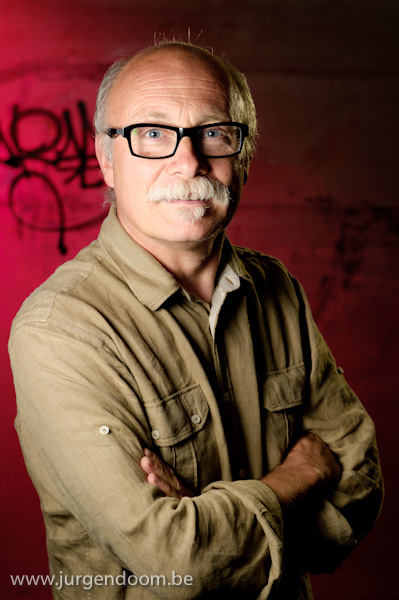
Carl, lit by 3 Nikon SB 900 flashes
To demonstrate how to add another color into the mix, we aimed a fourth SB900, with a light green gel, on the the wall as well, opposite from the red spot.
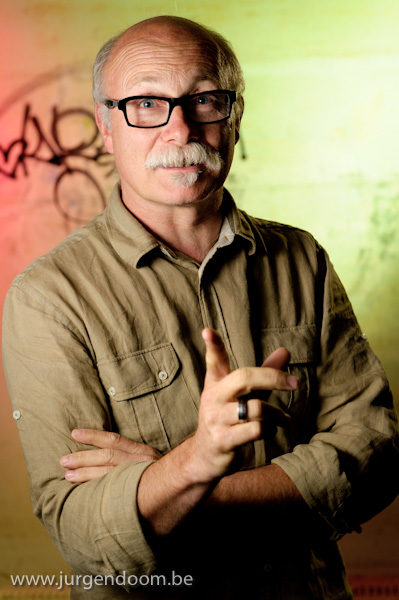
Carl, lit by 4 Nikon SB 900 flashes
We wanted to emphasise the green even more, so we replaced the light green by a dark green gel, which resulted in the next image.
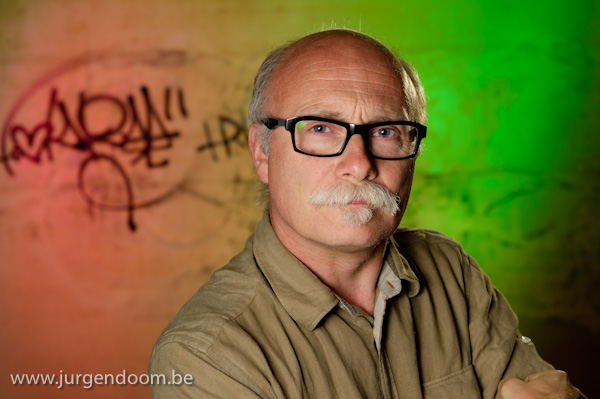
Carl, lit by 4 Nikon SB 900 flashes
In order to demonstrate the versatility of working with small flashes out in the field, I asked Carl to turn 90 degrees to his right. I also switched positions, slightly adapted the direction of the flashlights and photographed Carl against a backdrop of houses and sky.
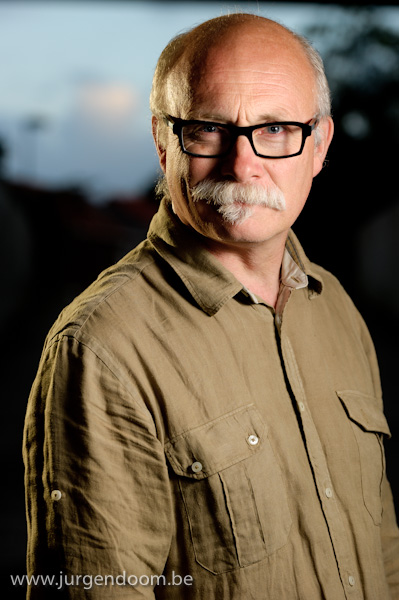
Carl, lit by 2 Nikon SB 900 flashes
By readjusting the kicker light, coming from behind (camera left) you can create the illusion of a setting sun behind the subject. This is what we wanted to demonstrate with this image.
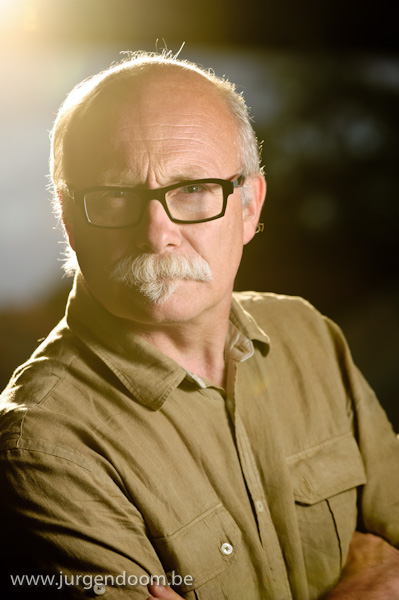
Carl, lit by 2 Nikon SB 900 flashes
Or, alternatively, changing the white balance of your camera in conjunction with the creative use of color gels creates this moody, late night atmosphere – a minute after the sunset image ….
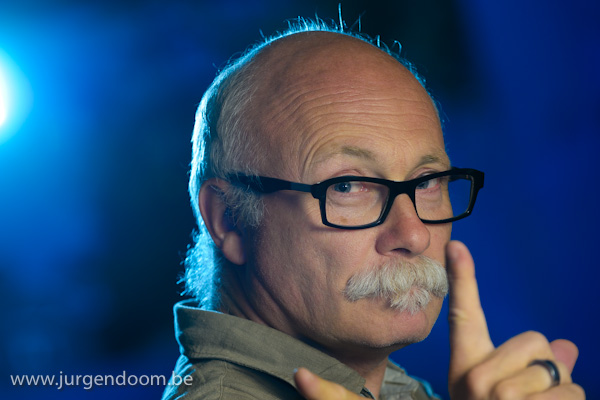
Carl, lit by 2 Nikon SB 900 flashes
To wrap up the workshop, I demonstrated the difference between 1 flash and the use of 2 flashes, one of which was provided with a red gel. The clue is that the red only (or predominantly) shows in the shadow areas, created by the main light on camera right.
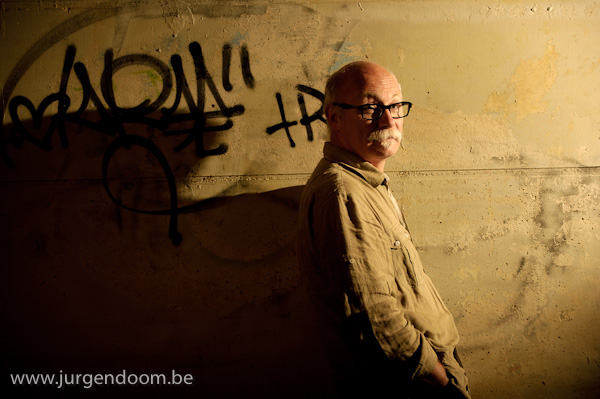
Carl, lit by 1 Nikon SB 900 flash
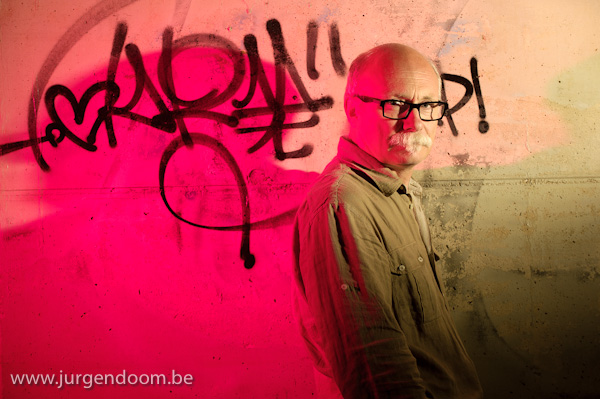
Carl, lit by 2 Nikon SB 900 flashes
I’ve always wanted to pass on and share my knowledge about photography, so if you’re interested in a workshop about photography or a workshop about flash photography, don’t hesitate to contact me. I’m available for workshops and teaching world wide.
Jurgendoom…
[…] something about jurgendoom[…]…
Trackback by Jurgendoom — 9 January 2011 @ 16:23